How to use custom markers with Vuforia
Prerequisites:
- A Web Browser
- Unity
- Vuforia Account
Quick Steps:
- Start with a Vuforia Enabled project
- Create a new Vuforia Target Database
- Create and Upload an Image
- Download and Import the Database in Unity
- Set the AR Camera to use the new database
- Create a Target Image Asset with the database texture
A more in depth walk through.
This tutorial will take you from the Vuforia Tracked Marker Tutorial unity project,to using your own custom markers in around 5 minutes.
1. Set up your Project
We’re going to assume that you have already set up the Vuforia package and have a Vuforia Account and License key.
2. Create your Marker Images
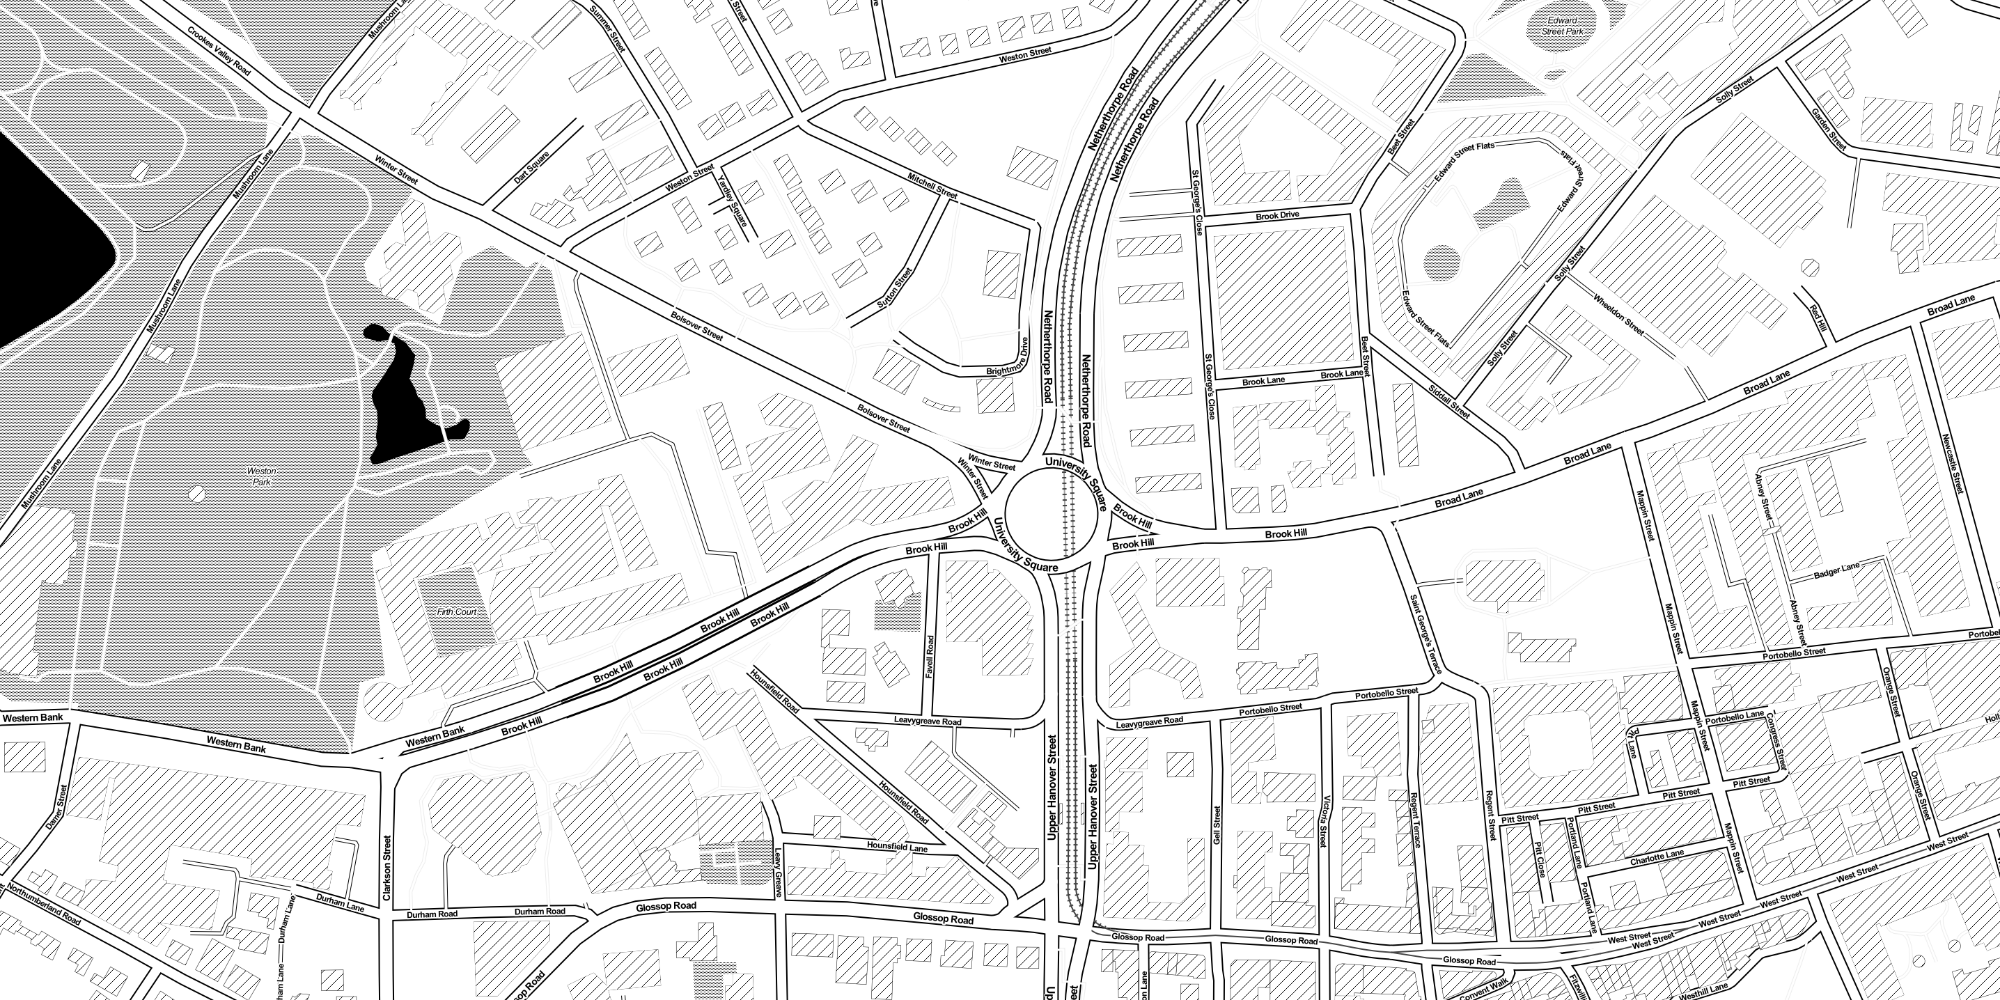
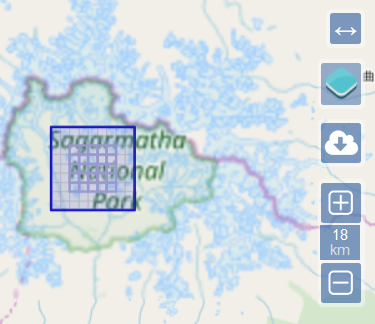
We are going to require a set of visually distinct Marker Images. I am going to take the opportunity to create a set of map images from the wonderful resource, Stamen Maps, using the Toner Setting. As I will be using this in a Sheffield based AR project, I’ll create a Sheffield map.

3. Create your Target Database
Once you have your target images, you need to head over to Vuforia, and open up the Developer Pages. You should see a list of your previous projects, you can use a previous one, or start a new one up.
When you’re looking at a project, click Target Manager in the Navigation Bar. Here we can add a new Database.
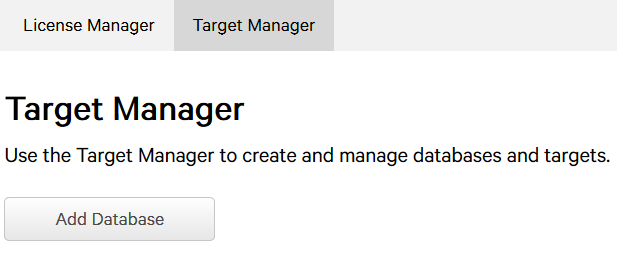
Click Add Database, Give it a name (Maps for me) and select Device Database. This means the database will be stored on the AR device, and will not require any cloud access. This is faster to recognise, but cant be as easily updated.
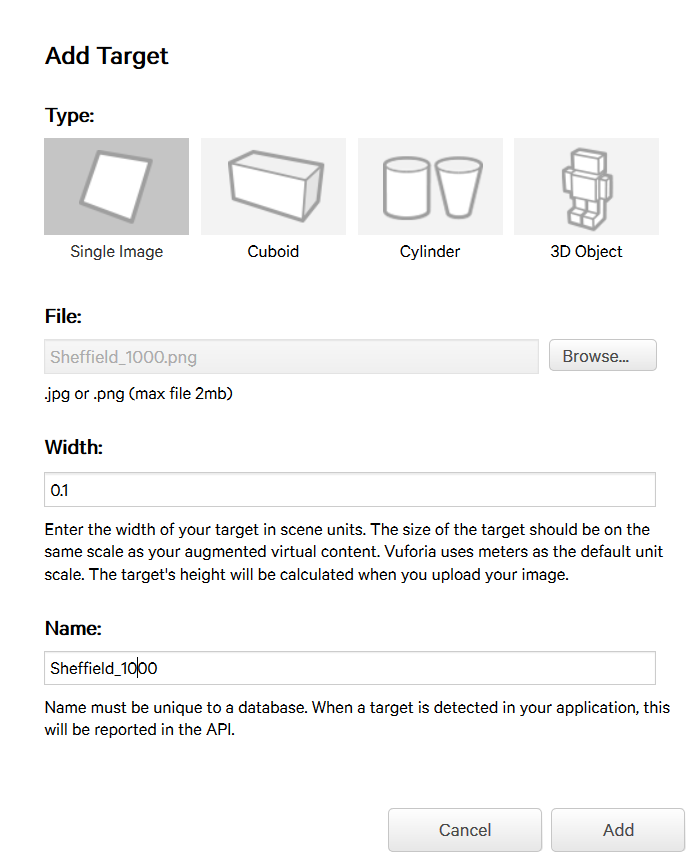
Once you’re created on, Open it up and click Add Target. Here you will want to select “Single Image”, upload your file and set the image scene width. Remember that 1 is 1 meter in the scene, and would require printing a meter squared for your target. I’m going to put 0.1, to enable a 10cm target image. Give your Image a Unique name, and press Add.
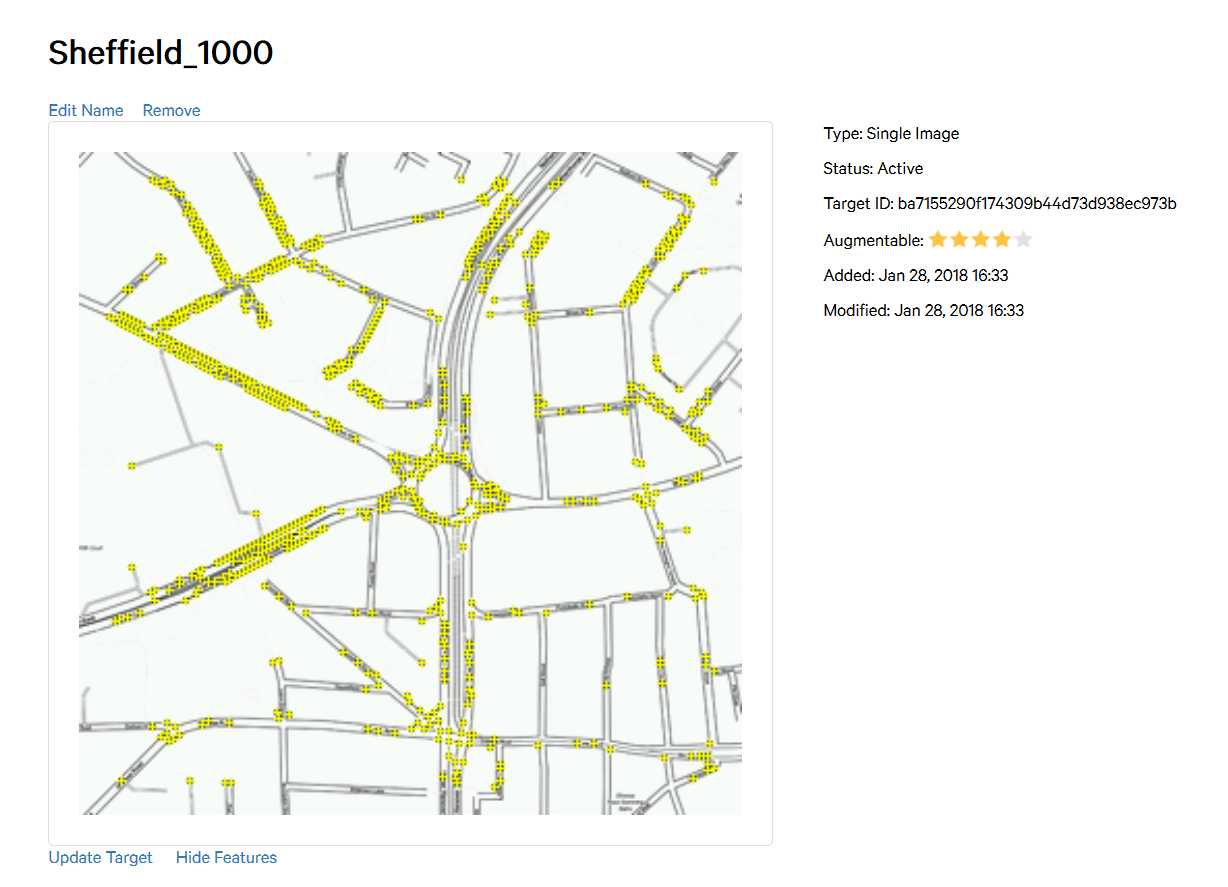
This will upload your Image and take you back to the database view. Now if you open up the Image, you can see the marker, and inspect the visual features using Show Features, and see the Augmentable Rank. If you get a low rank, you can change the images with “Update Target”.
4. Import the Database into Unity
You can go ahead and add as many images as you need now, before downloading the database. You can always re-download the database later if you see you need new images.
When you’re finished creating you database, you can click “Download Database” and Select the Unity option. This will compile your database, and may take a moment if you’ve added many images. When its finished, download the package, and import it into your Unity project.
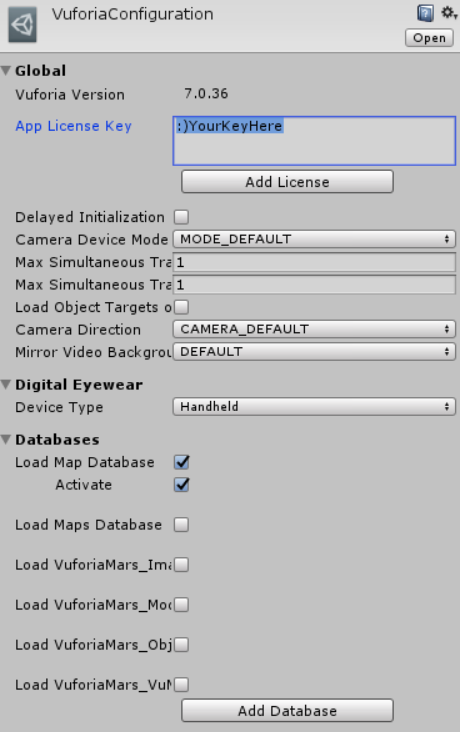
When the database is imported, you can enable it by Clicking on your AR camera, and opening the Vuforia Configuration, and enabling the Database you imported.
5. Use your Custom Marker
Finally you can set your Image Target up to use your new Database and Marker by setting the Database and Image target to your new marker, in the inspector window.

And you should now see your custom marker on your target Image. Print out your markers, and git it a shot.
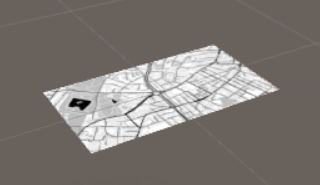
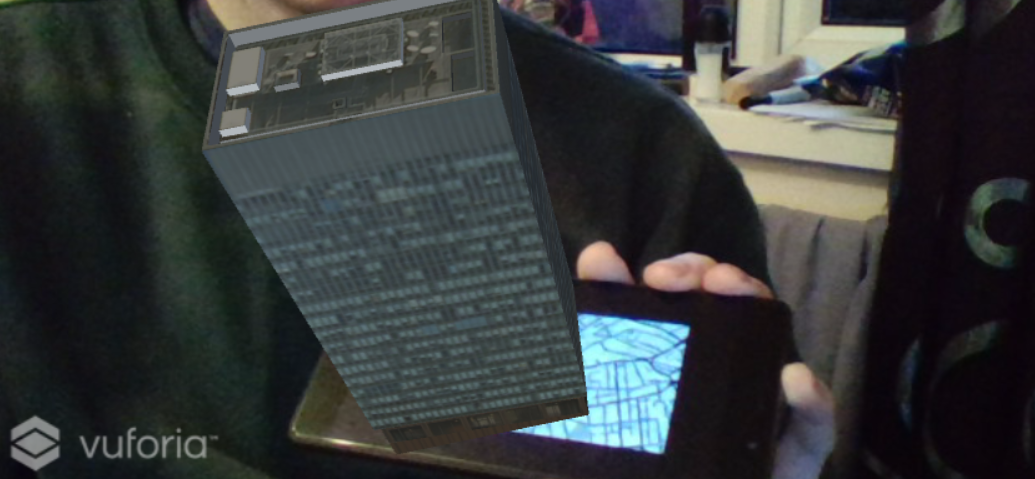
You can see it running here in Unity, with much better tracking than the astronaut, displaying a Arts Tower Mesh, a famous Sheffield landmark. You can see how to import SketchUp models like the Arts tower, in the next article.
